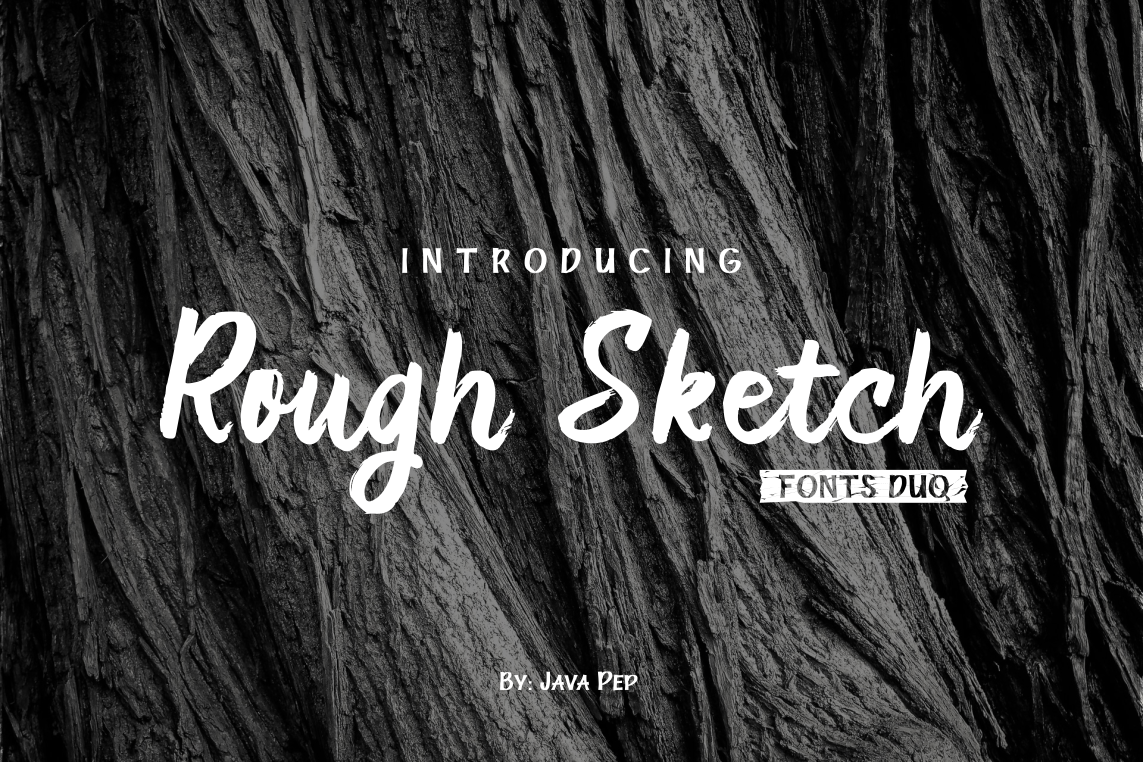
Rough Sketch: A Font Duo for Balanced and Practical Design Workflows
Choosing the right typeface is rarely a single decision. More often, it is a process of balancing contrast with coherence, personality with readability, and aesthetic appeal with practical application. Rough Sketch, a font duo that pairs a brush stroke typeface with a clean sans serif, offers a solution that feels deliberate rather than accidental. This combination is designed for projects where you want visual interest without sacrificing clarity, and where the underlying structure of your message remains as important as its presentation.
Understanding Rough Sketch means understanding how it fits into a broader creative or professional workflow. It is not merely a set of letters; it is a system that supports different stages of planning, execution, and refinement. Whether you are building a brand identity, preparing educational materials, or laying out a personal project, this duo provides a framework for making thoughtful typographic choices that hold up across contexts.
What Rough Sketch Brings to Your Process
At its core, Rough Sketch consists of two distinct typefaces designed to work together. The brush stroke font carries an expressive, hand-drawn quality. It suggests motion, spontaneity, and a human touch. The sans serif counterpart is clean, legible, and neutral. It does not compete for attention but instead provides stability and structure. When used together, these two faces create a visual hierarchy that guides the reader naturally from headline to body text, from emphasis to information.
This pairing is particularly useful in situations where you need to convey both energy and authority. In a marketing campaign, for example, the brush font can anchor a headline or call-to-action, while the sans serif handles the supporting copy. In educational materials, the brush font can draw attention to key concepts, while the sans serif ensures long-form reading remains comfortable. The duo does not force you to choose between personality and professionalism; it gives you both, provided you plan how each will be used.
Where Rough Sketch Fits Before, During, and After a Project
Integrating Rough Sketch into your workflow is not something you do at the last minute. It works best when you consider its role early, adjust as you go, and revisit your choices after implementation.
Before the Project: Planning Typographic Roles
During the planning phase, define what each typeface will do. The brush stroke font is best reserved for short, high-impact text: headlines, pull quotes, labels, or decorative elements. The sans serif should handle paragraphs, subheadings, captions, and any text that requires sustained reading. Sketch these roles out before you open your design software. Decide where you want emphasis and where you need clarity. This upfront thinking prevents the common mistake of using the brush font for too many elements, which can quickly make a layout feel chaotic.
This is also the time to consider your audience. If your readers include busy professionals or people scanning content quickly, the sans serif will do the heavy lifting. If you want to evoke a sense of craft, warmth, or creativity, the brush font should lead. Mapping these expectations to specific typeface roles early on saves rework later.
During the Project: Building Hierarchy and Rhythm
As you begin laying out your content, focus on creating a clear visual hierarchy using the duo. Start with the largest elements: headlines in the brush font. Then move to subheadings, which can be in the sans serif at a smaller weight or size. Body text should remain in the sans serif exclusively. This pattern establishes a rhythm that readers absorb unconsciously.
Pay attention to spacing. The brush font often requires generous tracking and breathing room around it, especially when used at larger sizes. The sans serif, being more compact, can work with tighter margins and line spacing. Adjust these parameters as you go, checking how the two fonts interact on the page. If they feel crowded or disconnected, you likely need to adjust spacing rather than change the typefaces themselves.
During execution, also consider color and contrast. The brush font works well with solid, saturated colors that echo its hand-drawn feel. The sans serif is more forgiving and can handle lighter tints or neutral backgrounds. Use this distinction to reinforce the roles you defined in planning.
After the Project: Reviewing Consistency and Legibility
Once your layout is complete, step back and evaluate the duo's performance. Read the content as your audience would. Does the brush font draw attention to the right places, or does it overwhelm? Is the sans serif comfortable to read at the sizes you have used? Check for any places where the two fonts conflict, such as a brush-style subheading that competes with a sans serif headline. These clashes are rare if you planned roles, but worth catching during review.
This post-project review also informs future use. Note what worked and what did not. Maybe the brush font needs to be used even more sparingly than you thought, or maybe the sans serif can handle a wider range of sizes than you initially assigned. Over time, these observations build into a personal usage guide that makes each subsequent project faster and more consistent.
How Rough Sketch Interacts with Other Tools, Assets, and Decisions
No typeface exists in isolation. Rough Sketch interacts with the other elements in your toolkit: software, brand guidelines, images, and even the medium of delivery.
In design applications like Adobe Illustrator, Canva, or Figma, the duo behaves like any well-made font pair. You can adjust weight, size, color, and spacing freely. The brush font may require slightly more attention to anti-aliasing or rendering at small sizes, so test it on different screens or print proofs. The sans serif is generally robust across platforms.
If you are working within an existing brand system, assess how Rough Sketch aligns with your current color palette, logo, and imagery. The brush font pairs well with organic shapes, textures, and hand-drawn illustrations. The sans serif suits clean lines, photography, and minimal layouts. If your brand leans heavily toward one style, you may lean more on the corresponding font in the duo.
When collaborating with others, especially in a team setting, document your typographic choices. Specify which font is used for headlines, body text, captions, and calls to action. This prevents inconsistencies when multiple people touch the same project. A simple style guide or design brief that names Rough Sketch and explains its usage is enough to maintain quality control.
Practical Implementation Tips for Real Workflows
Getting the most out of Rough Sketch requires attention to a few practical details that often get overlooked.
- Limit the brush font to one or two roles. Using it for every heading, subheading, and decorative element weakens its impact. Choose its applications deliberately and let the sans serif carry the rest.
- Set size thresholds. Decide on a minimum size for the brush font, typically 18 points or larger for print and 24 pixels or larger for digital. Below these thresholds, the hand-drawn details may become muddy or hard to read.
- Test on actual devices and media. A duo that looks perfect on your design monitor may behave differently on a mobile screen, a projector, or a printed flyer. Always test in the final delivery format.
- Use the sans serif for all body text. Even short paragraphs benefit from the cleaner font. Reserve the brush font for standalone statements or short lines where its texture can shine without causing eye strain.
- Create templates for recurring projects. If you use Rough Sketch for monthly newsletters, course materials, or social media graphics, build templates that predefine font roles, sizes, and spacing. This saves time and ensures consistency.
Workflow Examples Across Different Contexts
The value of Rough Sketch becomes clearer when you see it applied to specific use cases. Here are three scenarios that illustrate how the duo supports different workflows.
Marketing and Branding: A small business owner launching a product line uses the brush font for product names and taglines across packaging, website banners, and social media posts. The sans serif handles product descriptions, ingredient lists, and FAQ content. The result is a cohesive look that feels artisanal without sacrificing the practical information customers need to make a purchase.
Education and Training: An online course creator designs slide decks and handouts using Rough Sketch. The brush font highlights key terms, section titles, and actionable takeaways. The sans serif carries the bulk of the instructional text, including step-by-step instructions and supporting explanations. Students stay engaged with the visual variety but never struggle to follow the content.
Personal Projects and Hobbyist Work: A hobbyist blogger uses the duo to create a visual identity for a travel or food journal. Headlines in the brush font capture the spirit of each entry, while the sans serif keeps stories readable on both desktop and mobile. The duo gives the blog a distinctive voice without requiring advanced design skills.
Long-Term Use and Organization
If Rough Sketch becomes a regular part of your toolkit, treat it as an asset worth maintaining. Keep the font files organized in a dedicated folder, and back them up along with your other licensed typefaces. If you work across multiple devices, use a font management tool to sync the duo and track where it is installed.
Over time, build a small library of projects that use Rough Sketch. Refer back to these when starting new work. You will notice patterns in what works and what does not, and you can refine your approach accordingly. The duo is versatile enough to support a wide range of projects, but your own usage history will be the best guide for getting consistent, efficient results.
Finally, remember that a font duo is a tool, not a crutch. Rough Sketch gives you a strong starting point, but your judgment about scale, spacing, and context determines whether the final design succeeds. Trust the planning you do before you start, stay flexible during execution, and always review the outcome with a critical eye. That process, repeated over time, is what turns a good font into a reliable part of your workflow.